Welcome to DVO’s Tutorial Series on Audacity. In this first Audacity Tutorial Guide episode we will cover the Basics. Audacity is an audio editing program compatible with Windows, Mac OS X, GNU/Linux and other operating systems. With it, we can record audio tracks, edit audio files in various formats, mix audio tracks, modify pitch and tempo in a recording, and add sound effects. Furthermore, the software is free, and can be downloaded in its latest version at any time from its official website.
In this first episode, we will first explain some basic technical concepts about digital sound which will help us understand and make a better use of Audacity.
What is sound? What is amplitude and wave length? We will give you all the key info in this three-minute video.
Audacity Tutorial : Technical Concepts about Digital SoundWith this knowledge, we’re ready to take our first steps in the wonderful world of Audacity! Let us install the software and proceed to work with it.

Audacity VideoTutorial: The Basics - Dani Voice OversMaster the basics of Audacity with our Complete Tutorial Guide to Audacity for Beginners
Here’s the main window, with our project’s sample rate at the left bottom, you can change it if the default one doesn’t fit your needs.
Here you can see two very important selectors: where the sounds we play will be heard (for instance, our computer speakers), its volume, and where the sounds we record will come from (and its input level). We can work either by recording new sounds, but we can work as well with already created files.

Let’s start with this last option. Any sound file that we drag to the Audacity window will be incorporated to our project as a new track.
We can add as many files as we like, and they will be incorporated as new tracks. Something very important is that the files are in a format that is supported by Audacity; the most usual ones are WAV and mp3.
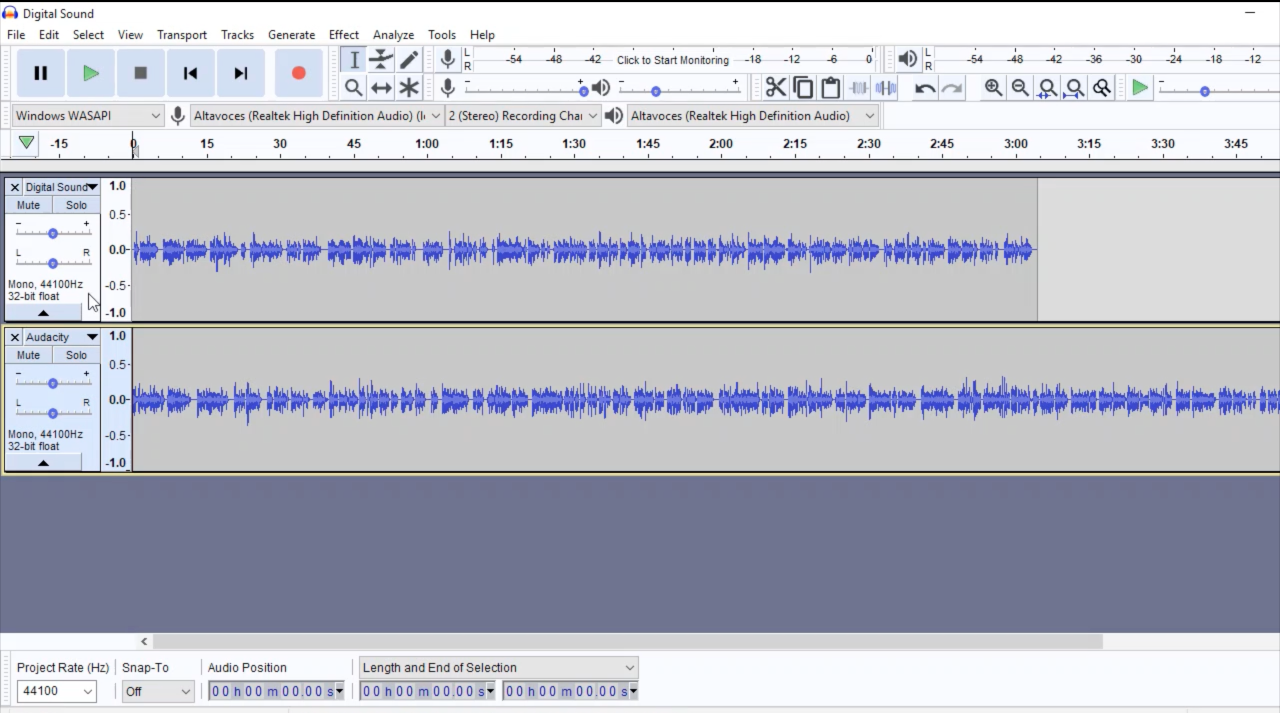
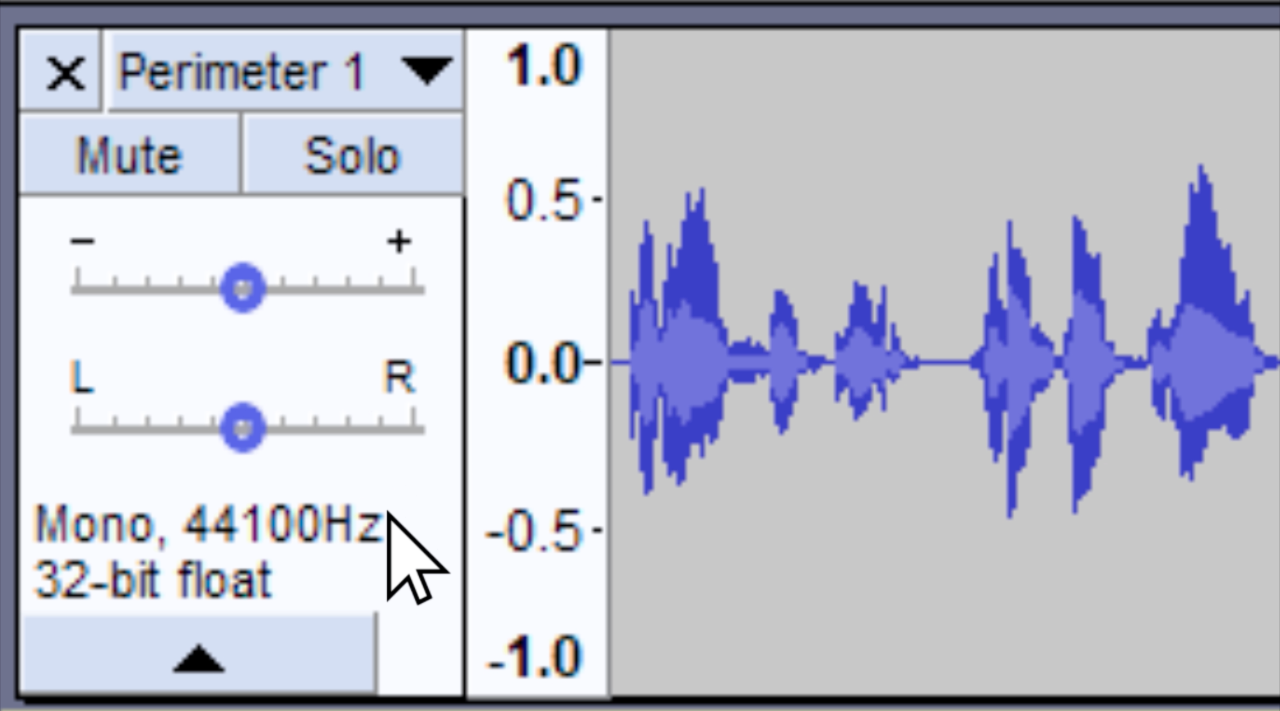
As you can see on screen, each track is represented in our timeline with a view of its sound wave; with its sample rate and bit depth specified, plus two buttons: mute the track, and mute the rest of the tracks. You can also control its gain and the stereo balance.
We can click on play to listen to all the sound in our timeline, pause the reproduction, stop it, etc. The play cursor moves forward along the timeline; when the reproduction is stopped, we can place it whenever we like, and click play to listen from that specific point.
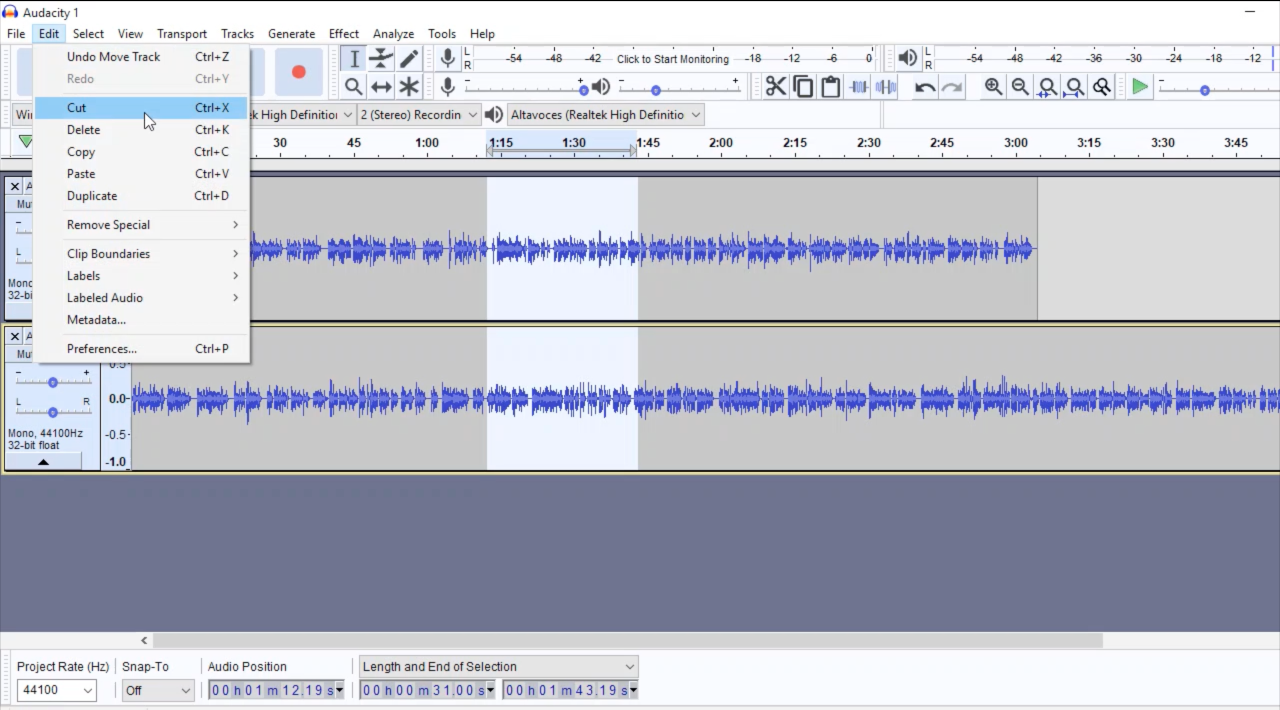
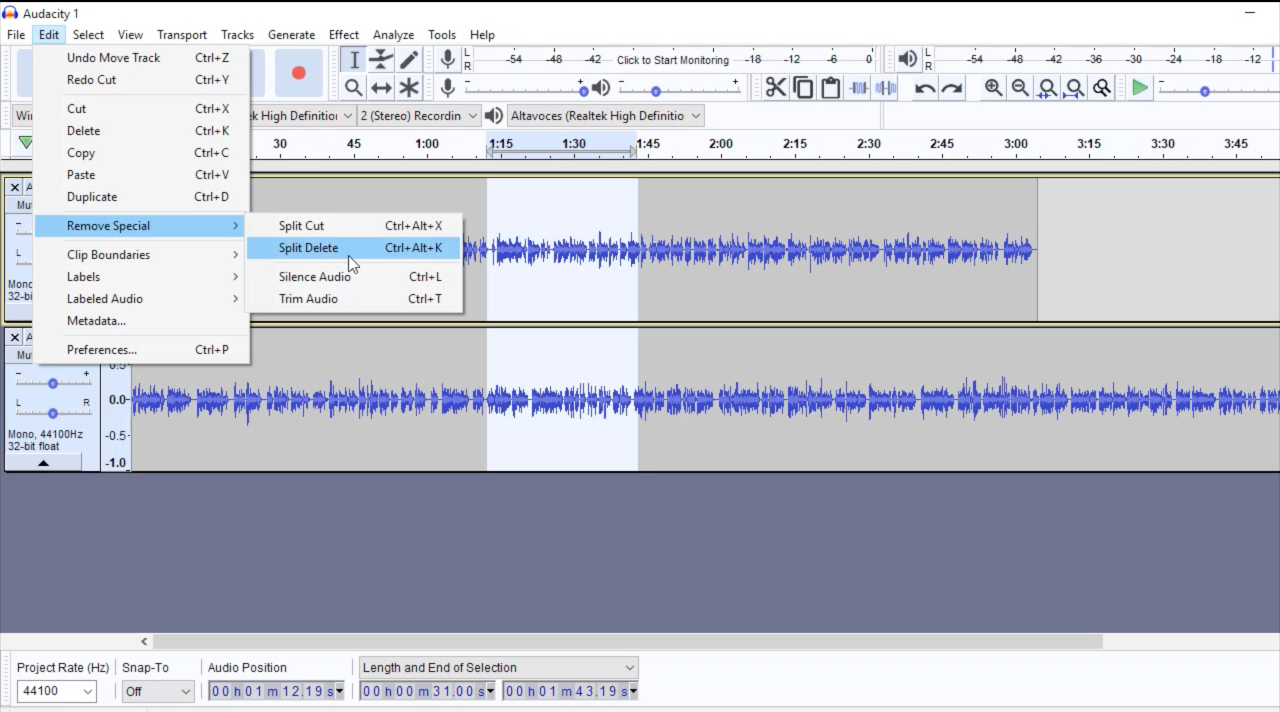
If we keep pressed the left button of our mouse, and we move the icon along the wave, we will select a piece of audio, in one, or several tracks.
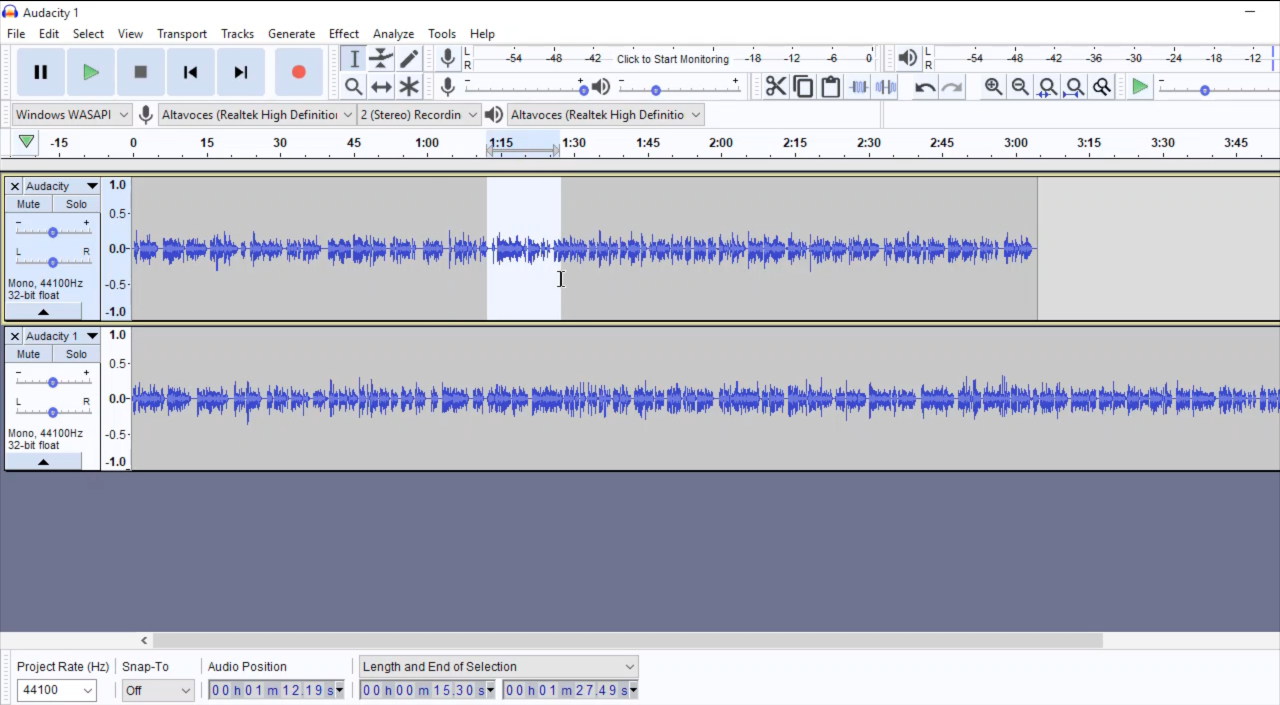
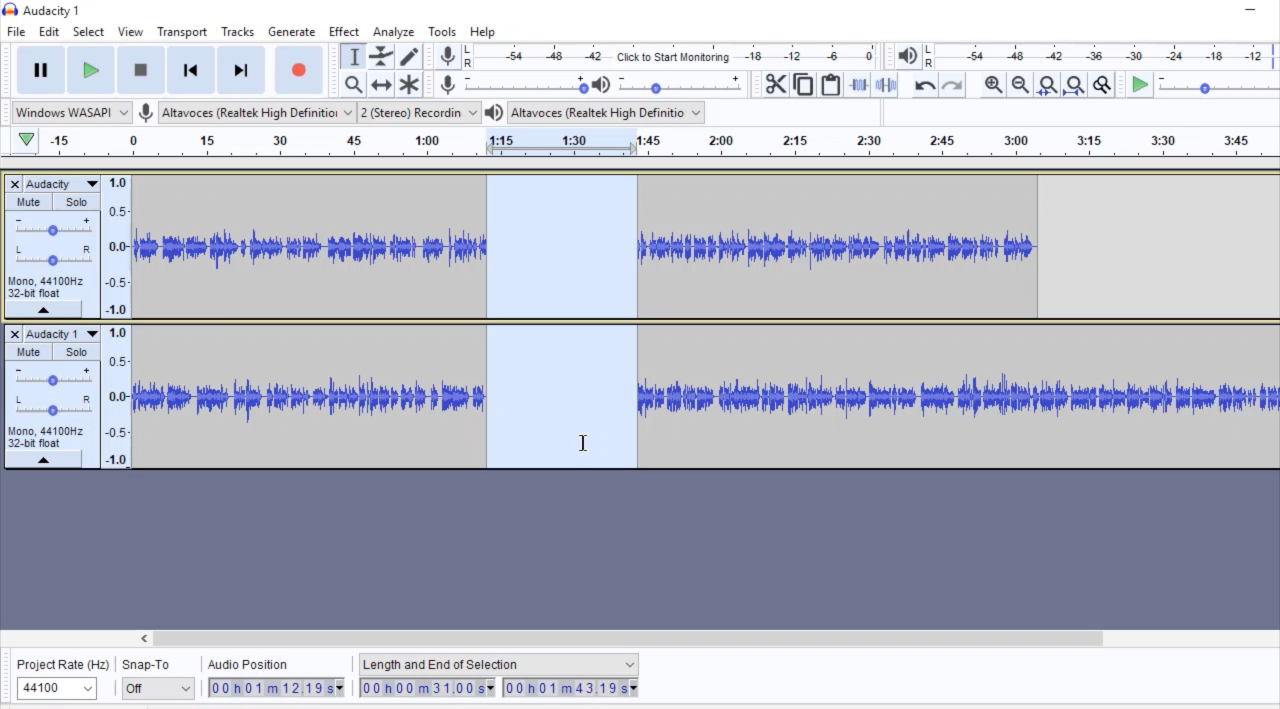
When we stop pressing, we will be able to eliminate with and without leaving a gap in the middle.
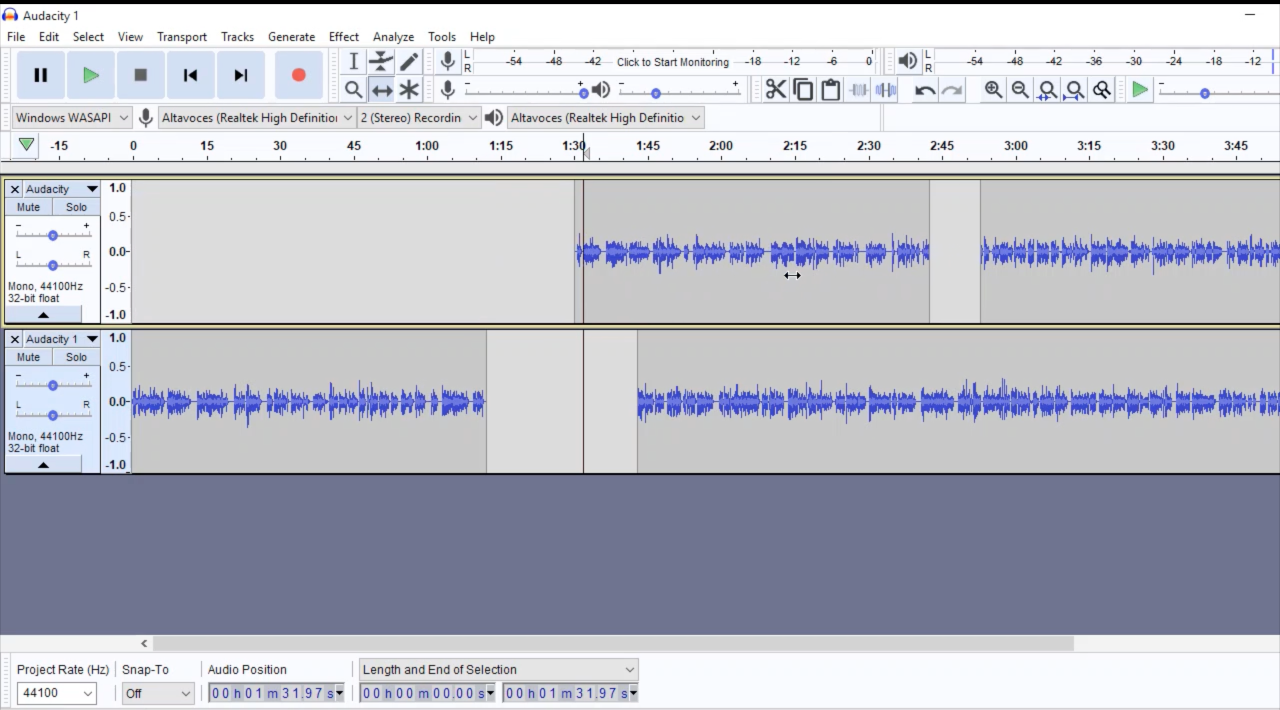
If we want to move an audio block, to change its place inside a track, or to move it to a different one, we can switch our icon to the two points arrow one. With it, we can drag blocks of sound by simply keeping the left button pressed and moving the mouse.
Thus, we can clean our sound, by removing noises, or whatever is not needed, mix them (you can have music in one track and a voice in another one), etc.
We’ve already edited our sounds, so, we can export the result or save our project to continue working on it sometime later. Doing this will allow us to access this same workspace as it is when we save it.
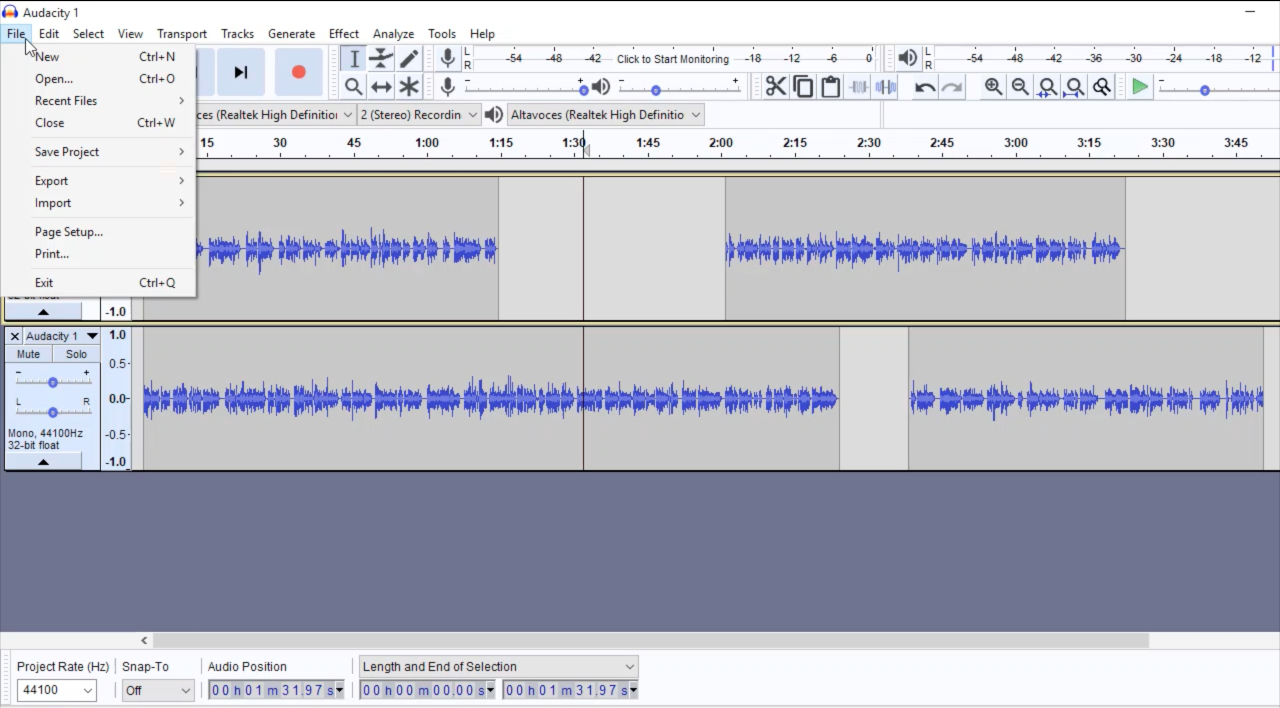
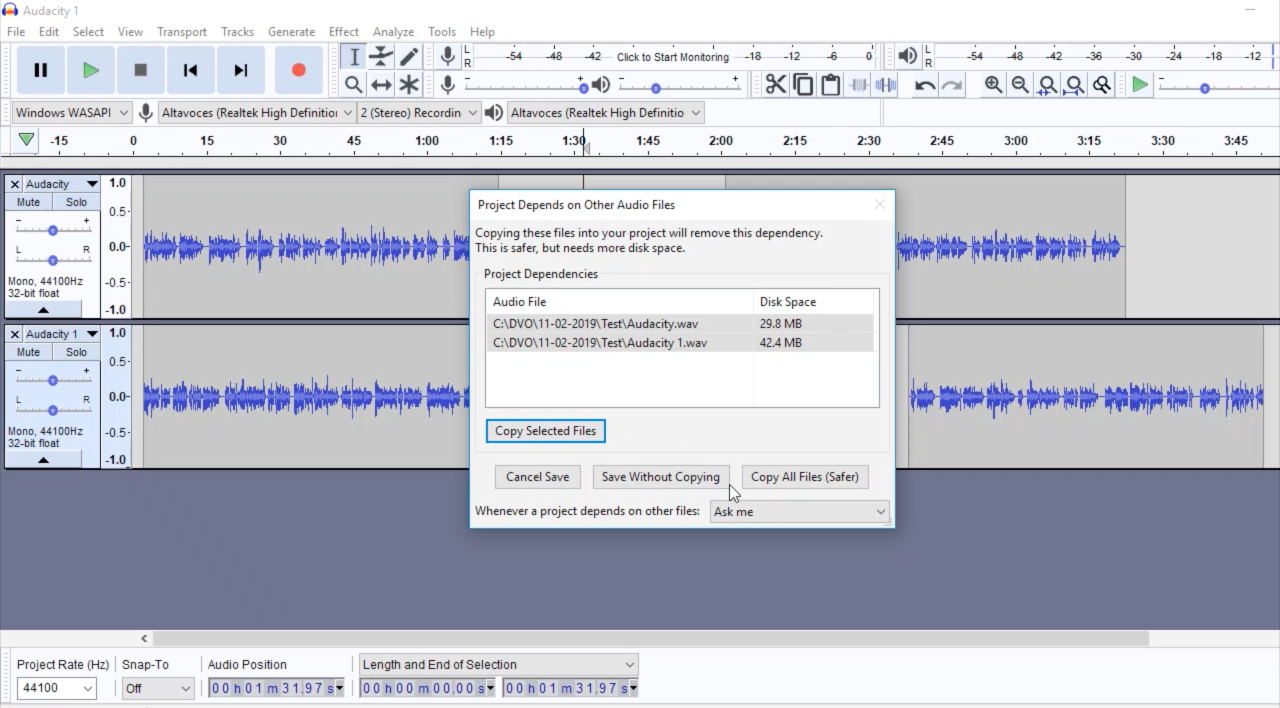
The program will ask you if you prefer having all the source files copied, as part of the project folder, or if you want the project to depend on the original files. This is an important decision: if the project doesn’t have sound files linked to it, it won’t be possible to continue working on it.
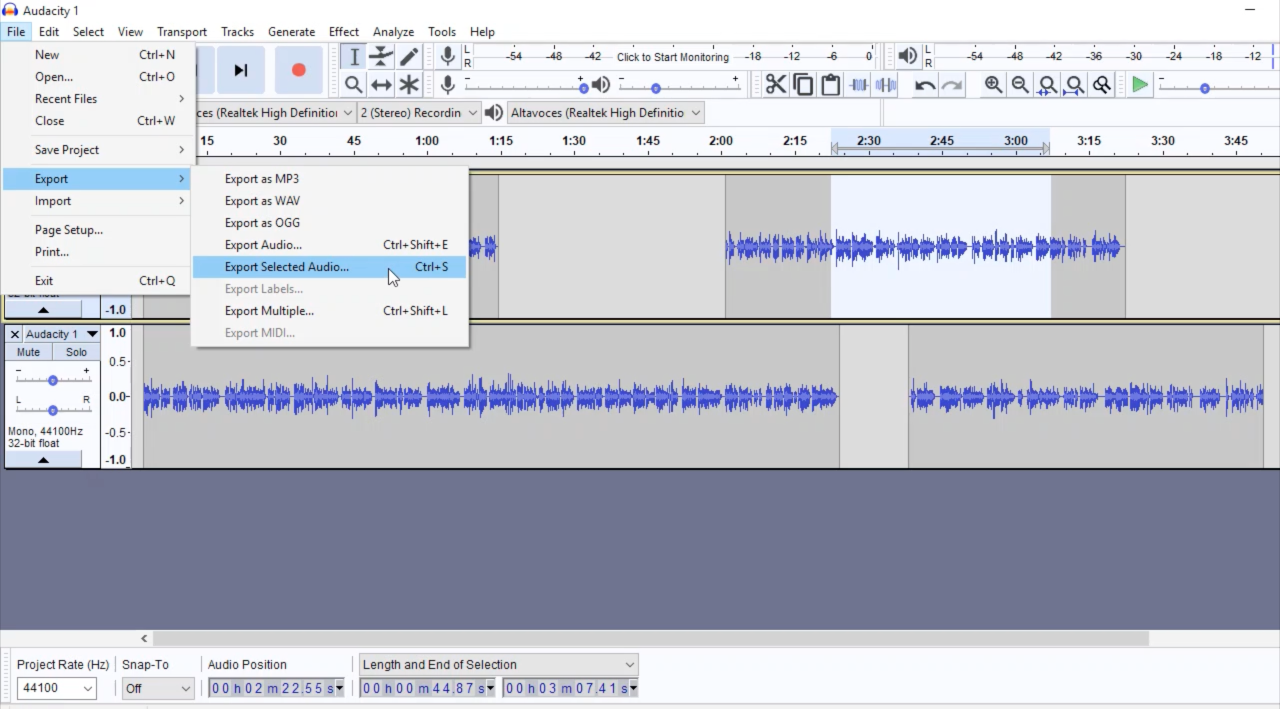
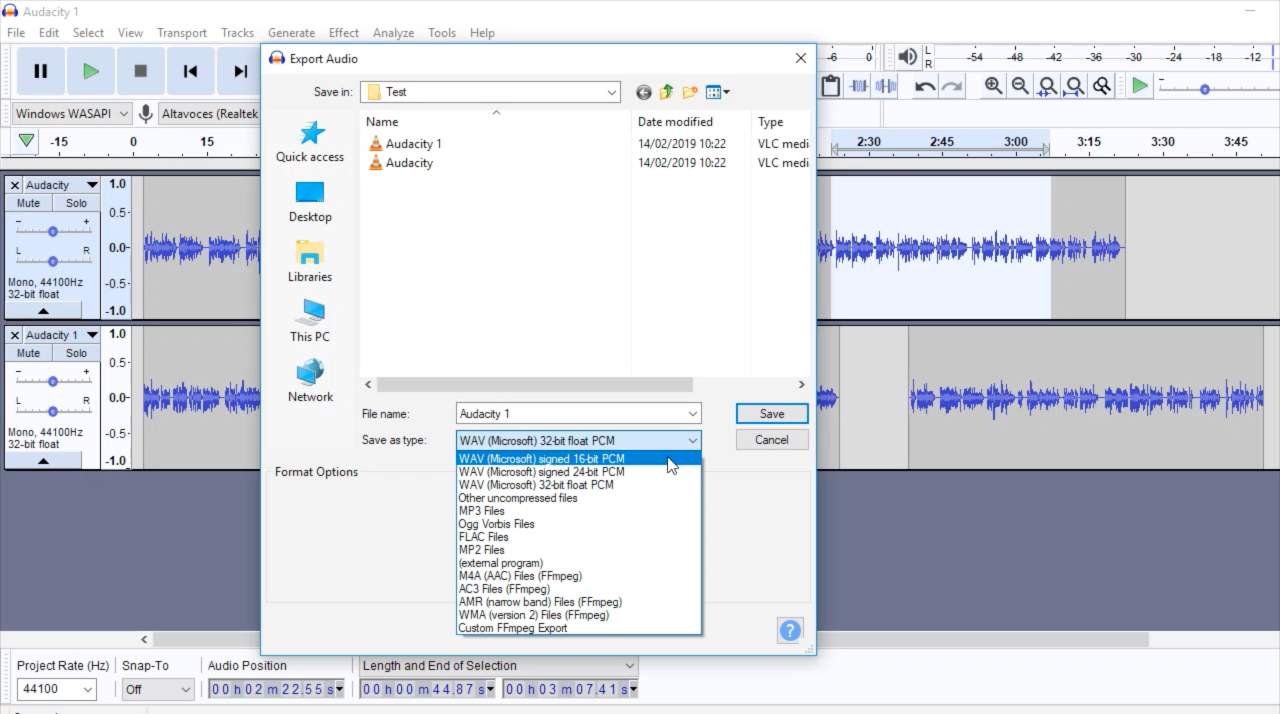
When we’ve finished working and we want to save the results of our work, we can click on export. We can export all the tracks as they’re in our mix, or we can export only a piece we’ve selected.
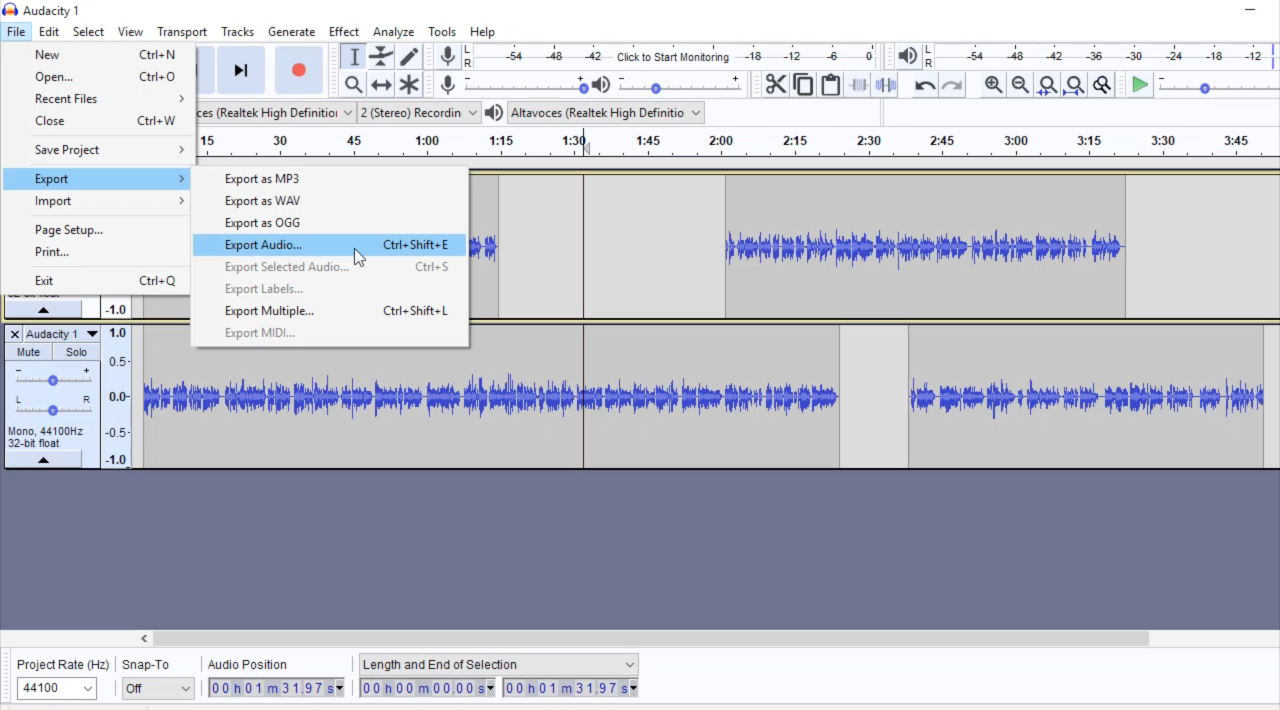
We can choose the exportation format in advance (WAV, mp3), or in the window that opens when we click on Export or Export Selection. In that window, we can also select the bit depth. The sample rate of our exported file, will be the one we selected for the whole project.
And that’s all for today. With these few, very simple tools, we can do a lot of different audio work: cleaning, mixing, ordering our audio content.
We hope you find it useful. You can see now our second Audacity Tutorial Guide for Beginners episode. You will learn how to control the level at which a recording is registered. Click the link below.