
It is time to learn some basis from Audacity. Welcome to Audacity Tutorial Guide for Beginners: How to Control the Level at which a recording is registered.
Related Article: Audacity Tutorial Guide. The Basics
Audacity Tutorial Guide for Beginners: How to Control the Level
There are two basic tools for this: amplification and normalization.
Lets check them out in the Audacity Tutorial Guide for Beginners: How to Control the Level
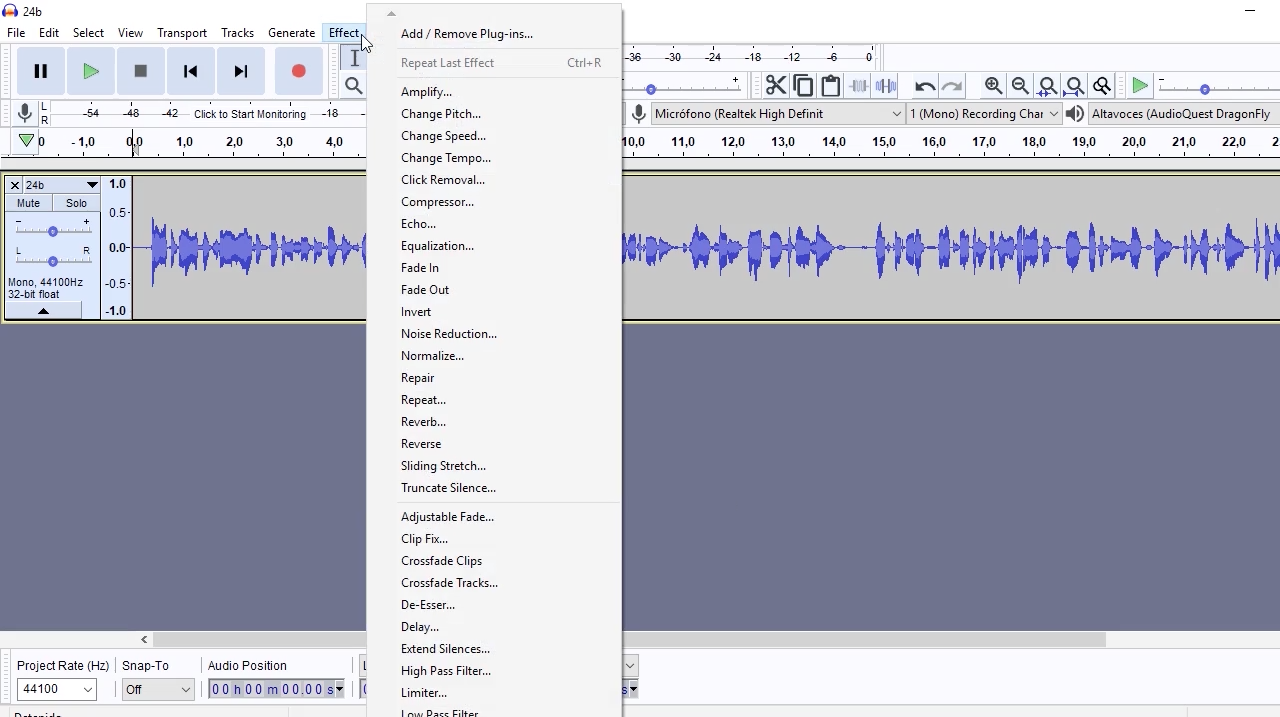
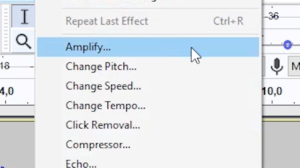
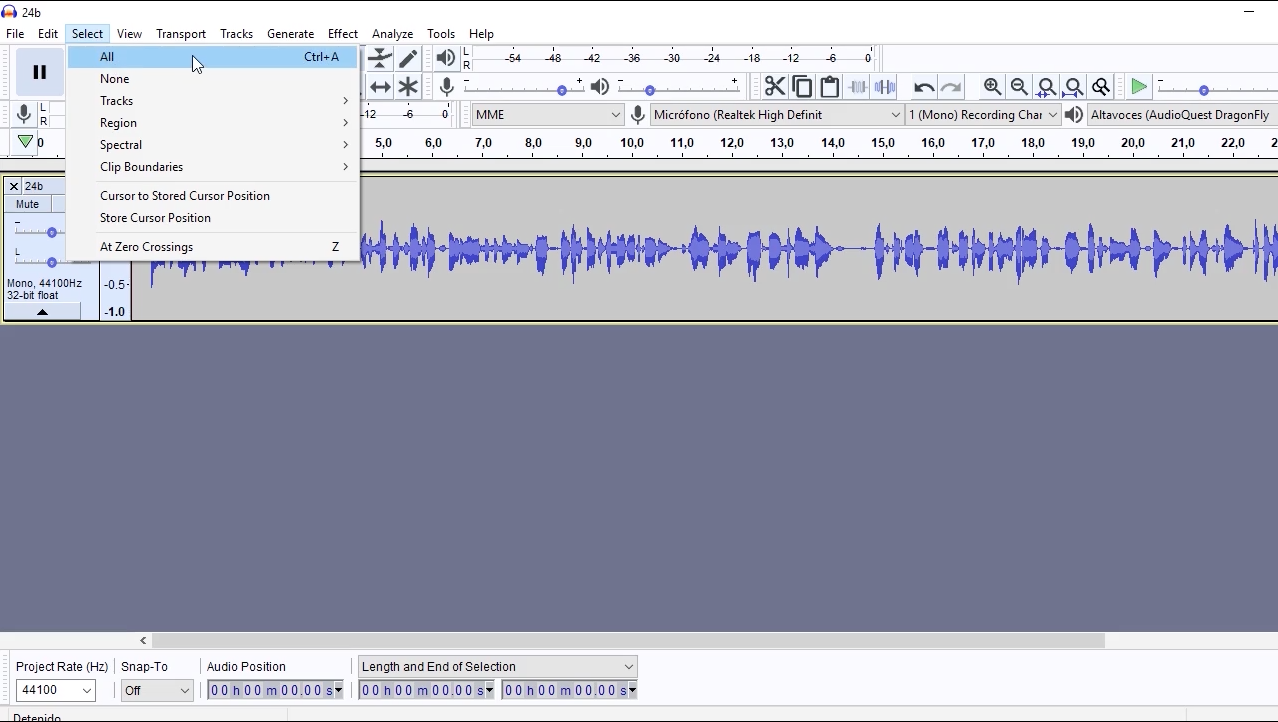
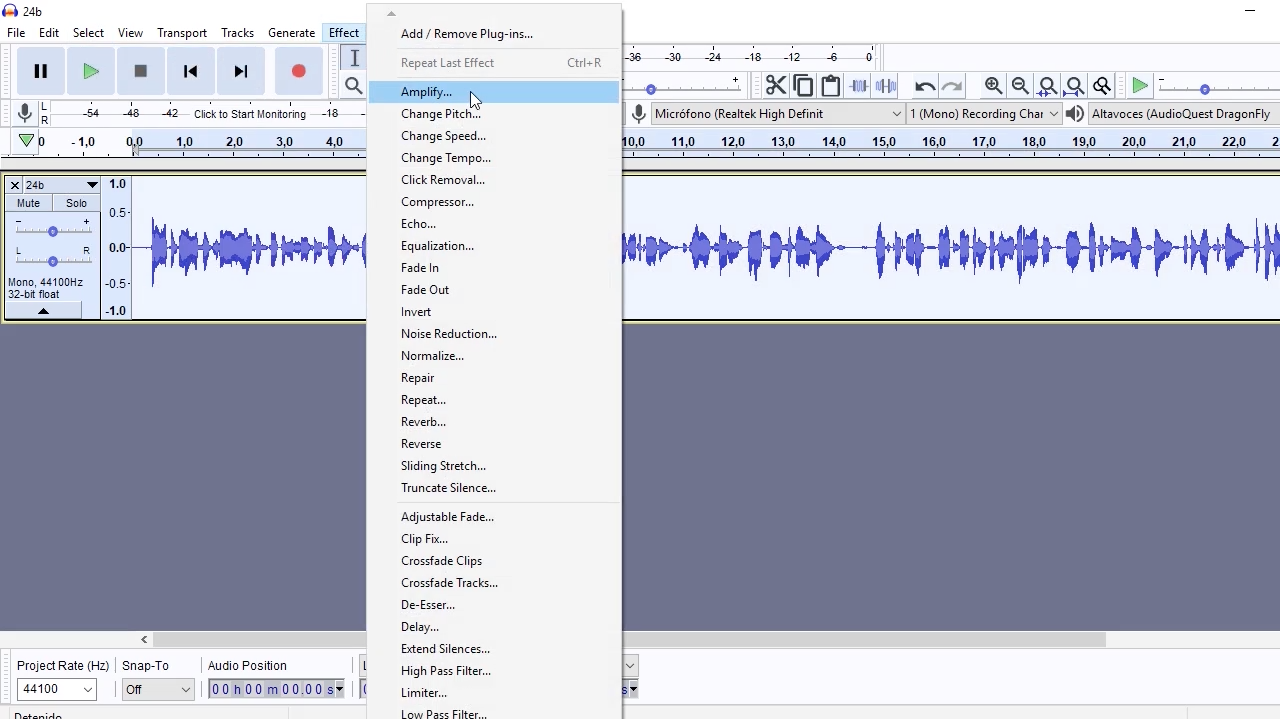
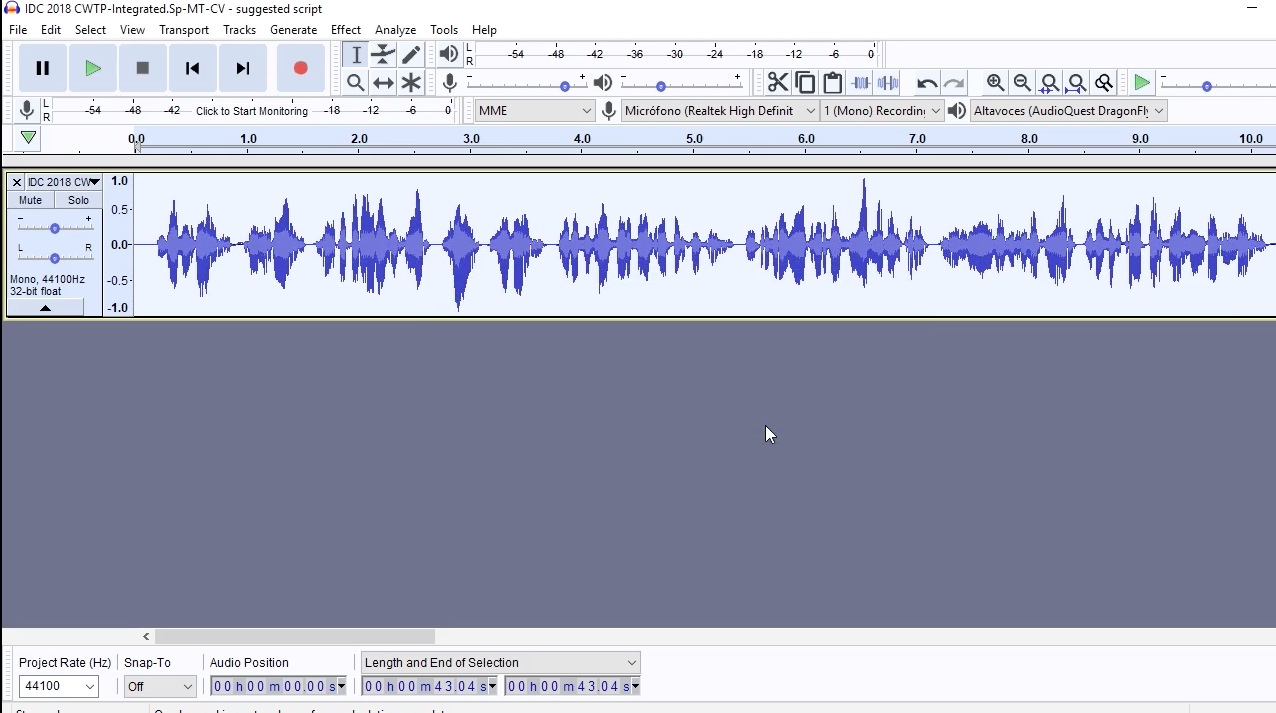
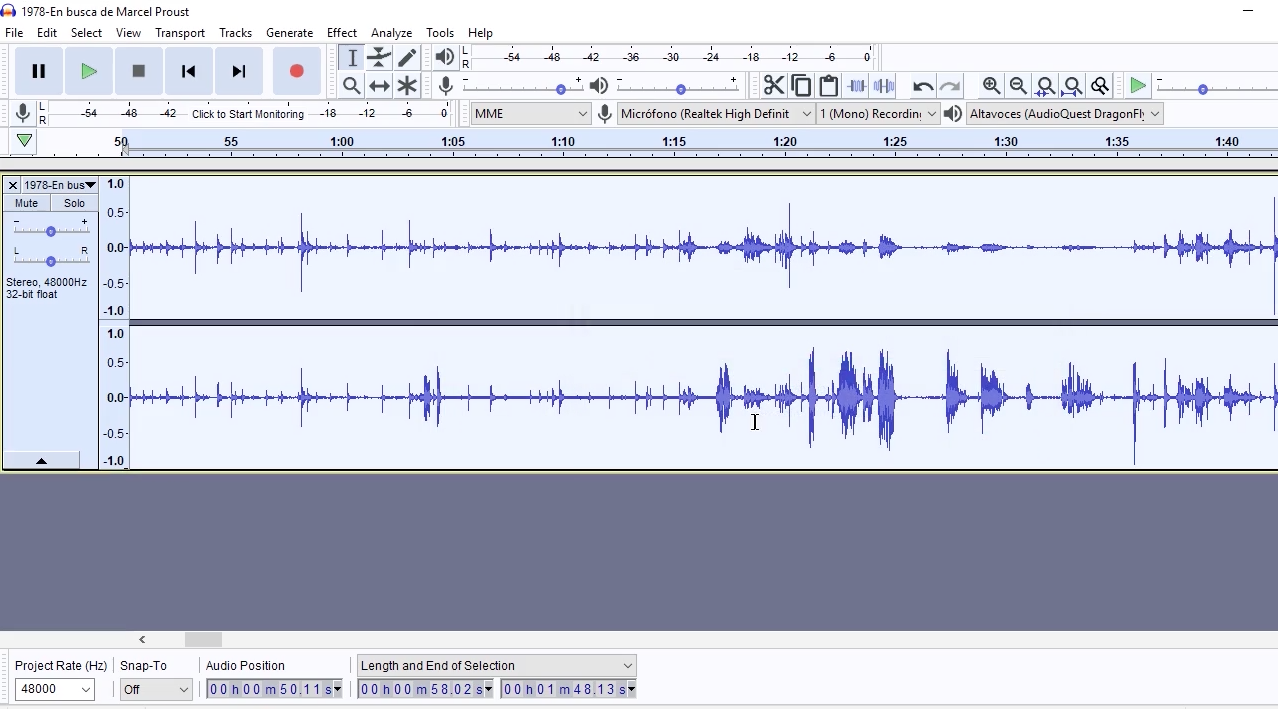
We have loaded one audio file in Audacity as an example. Let’s suppose that we want it to be registered louder. We select the whole audio file. We click on Effects, Amplify.
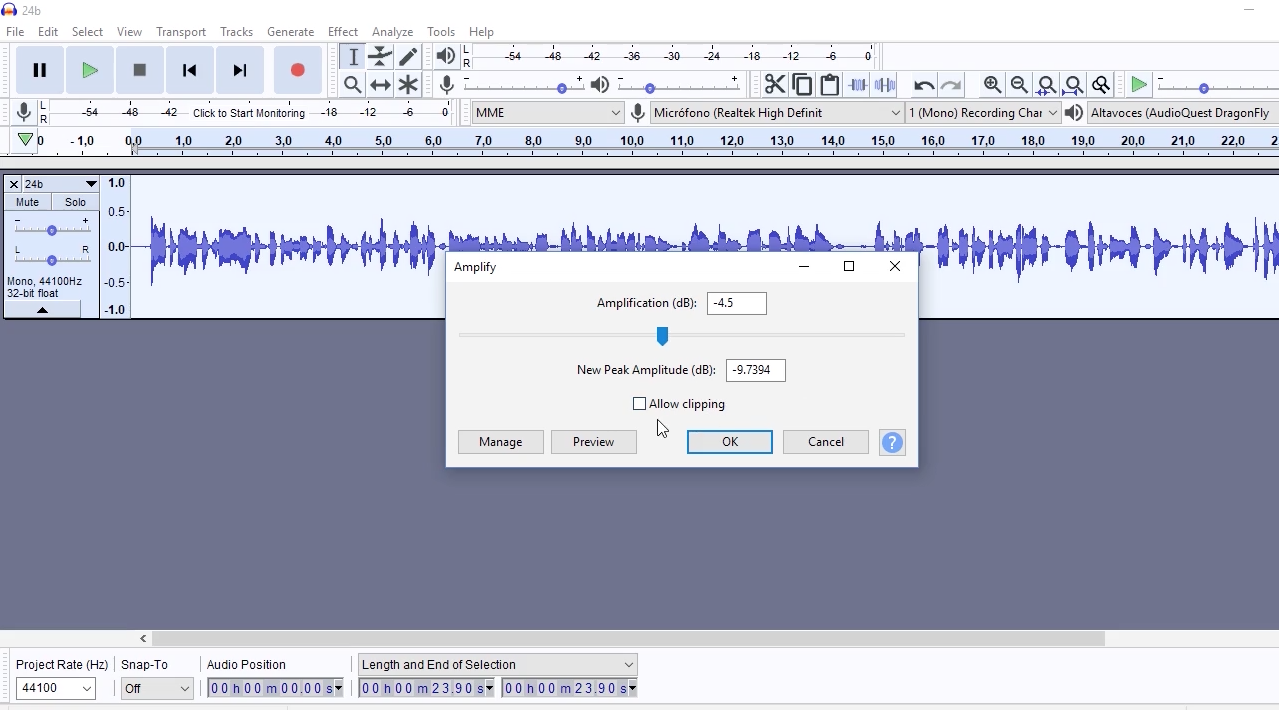
 A small window appears, with a slider that allows us to indicate by how many decibels we want to increase our audio level.

Right under it, we have a small text box where we can see the maximum amplitude peak that corresponds to our selection. This tells us the highest value that the audio will reach in its peaks.
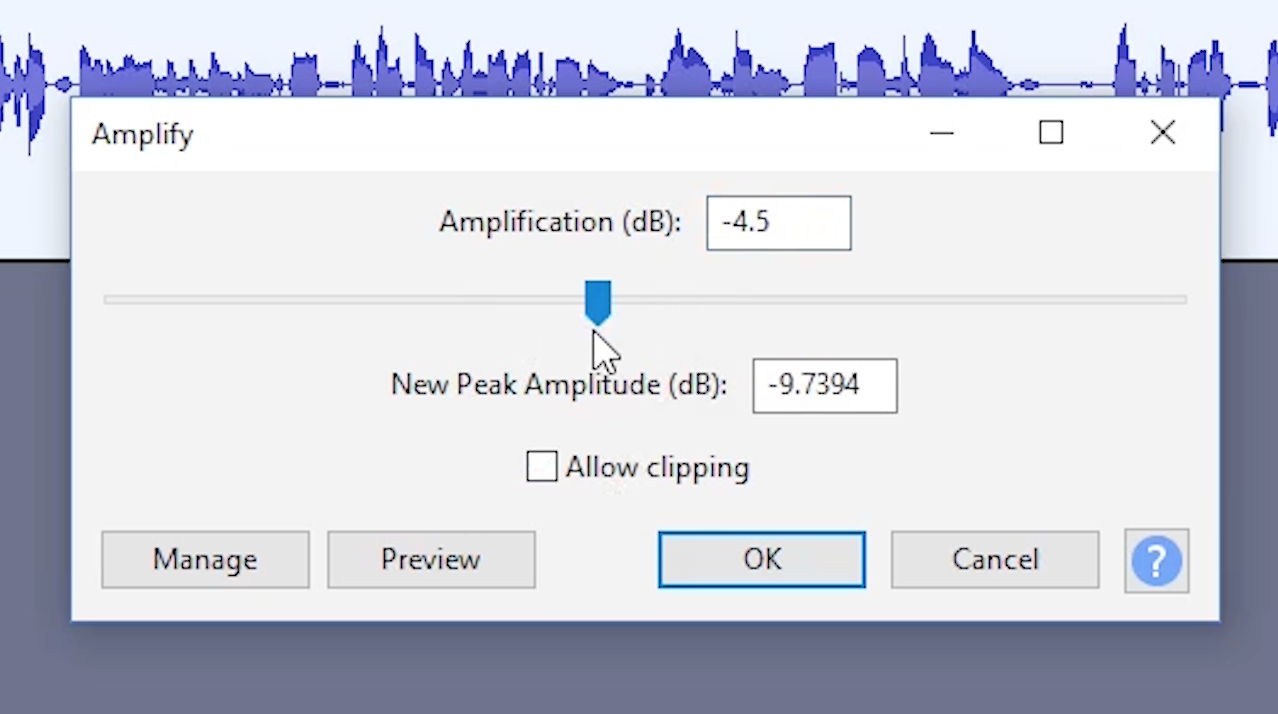
When we’re working with digital recordings, any peak that goes beyond 0db will not be recorded as such, instead, it will be clipped, and the result, will be a deteriorated sound quality.
When we move the slider, the value of the highest amplitude varies. To prevent this level from going over 0db by accident, there’s an option called “Allow clipping”.
If it’s not on, we won’t have the option to click on accept when the maximum peaks value is positive. Thus, it will only allow us to amplify the sound if we don’t deteriorate the sound. This security measure is turned off when we activate “Allow clipping”.
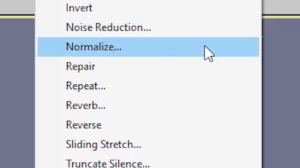
The “Normalize” tool is very similar to the Amplify one. It essentially does the same: it raises or lowers the level of the recording.
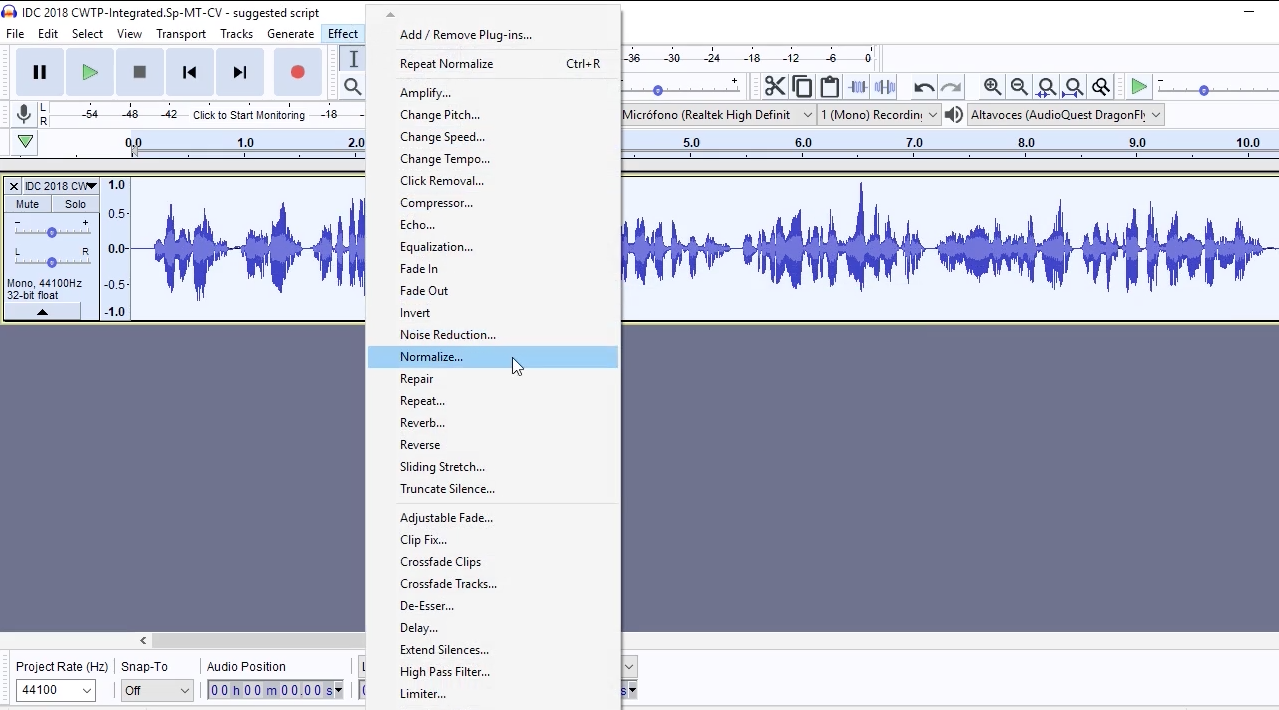
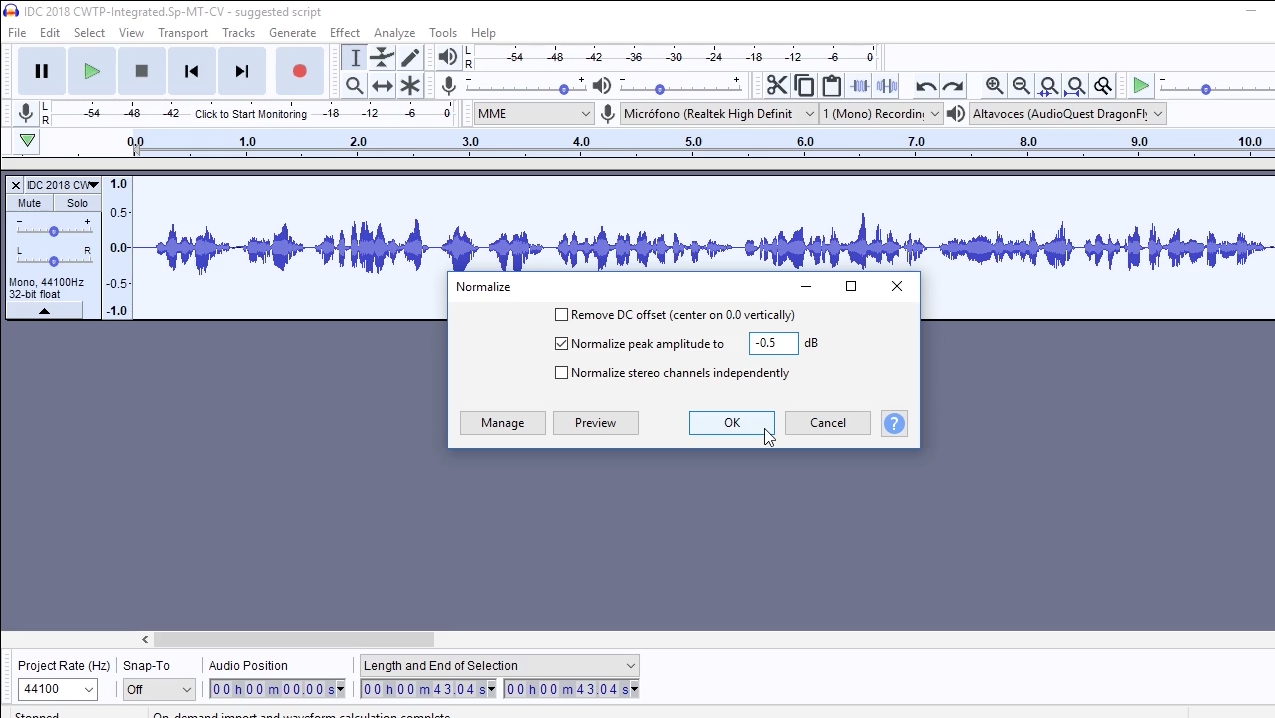
But it’s presented in a different way. We have a window with three options that can be activated. The basic one is in the middle: we set an amplitude peak, just like we did in the amplitude window.
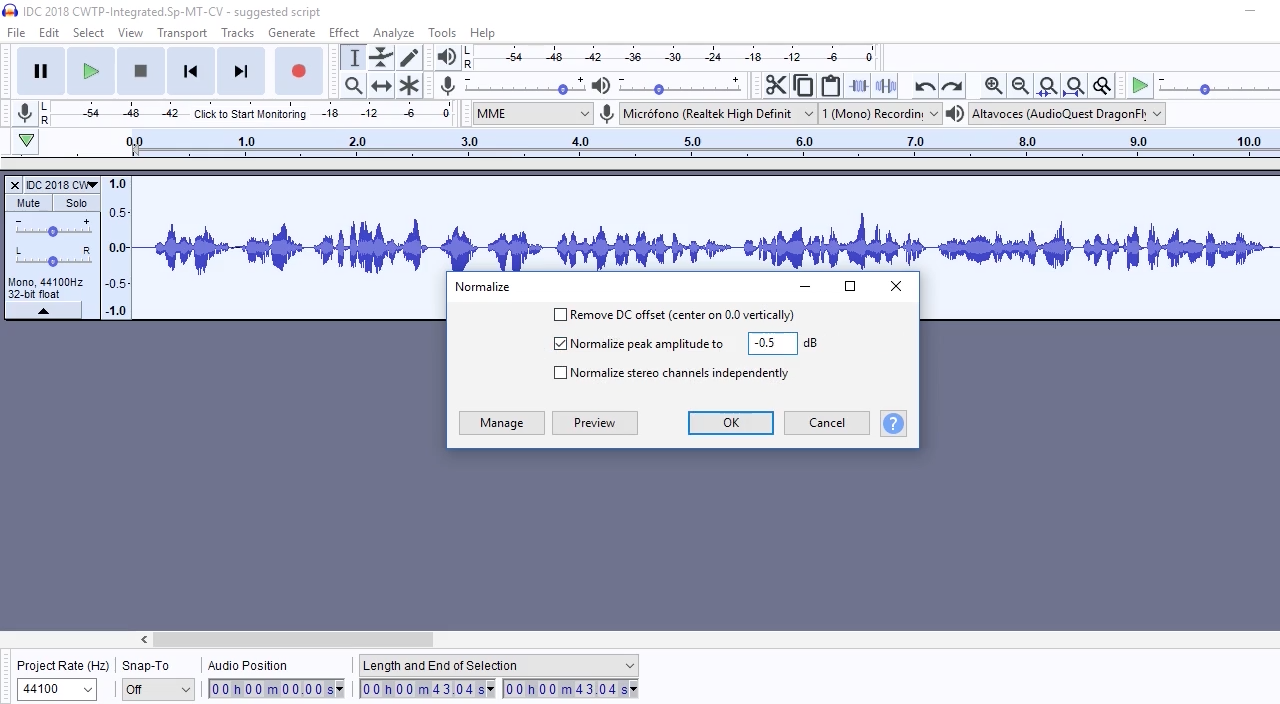
And Audacity will modify the level of the selected audio evenly, so that it reaches the desired peak without surpassing it. Exactly the same as if we had done it with the Amplify tool.
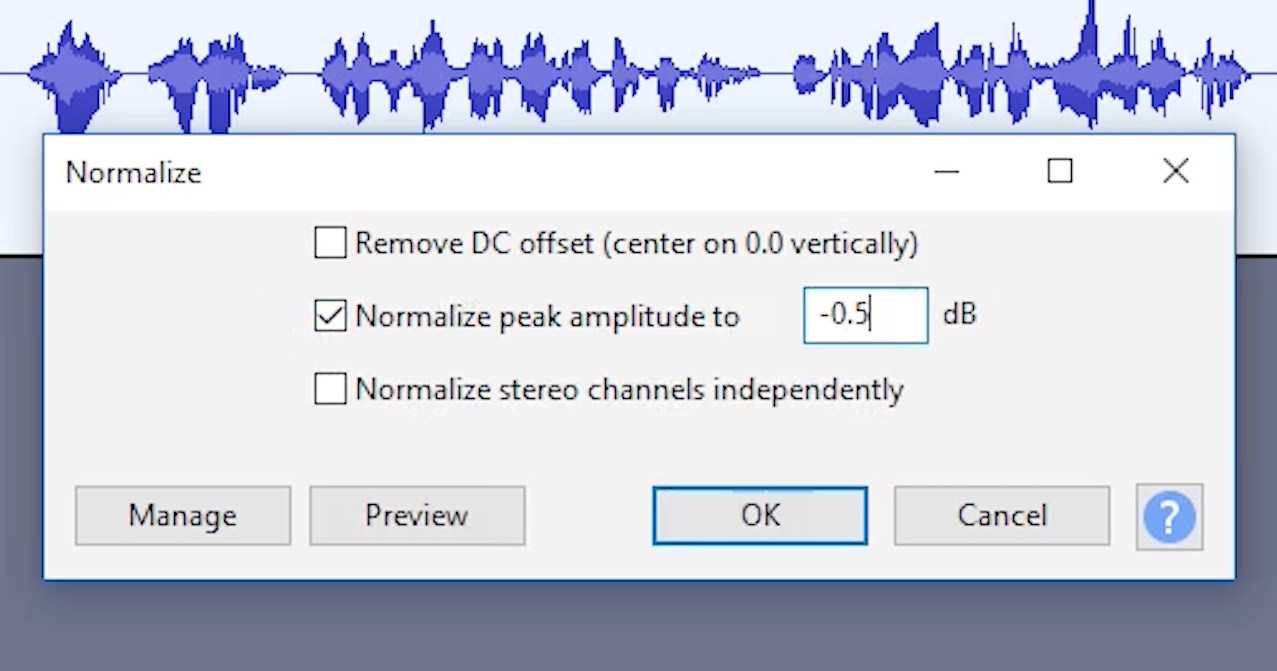
Let’s see the other two options that the Normalizer offers. The upper one says, “Eliminate DC offset”.
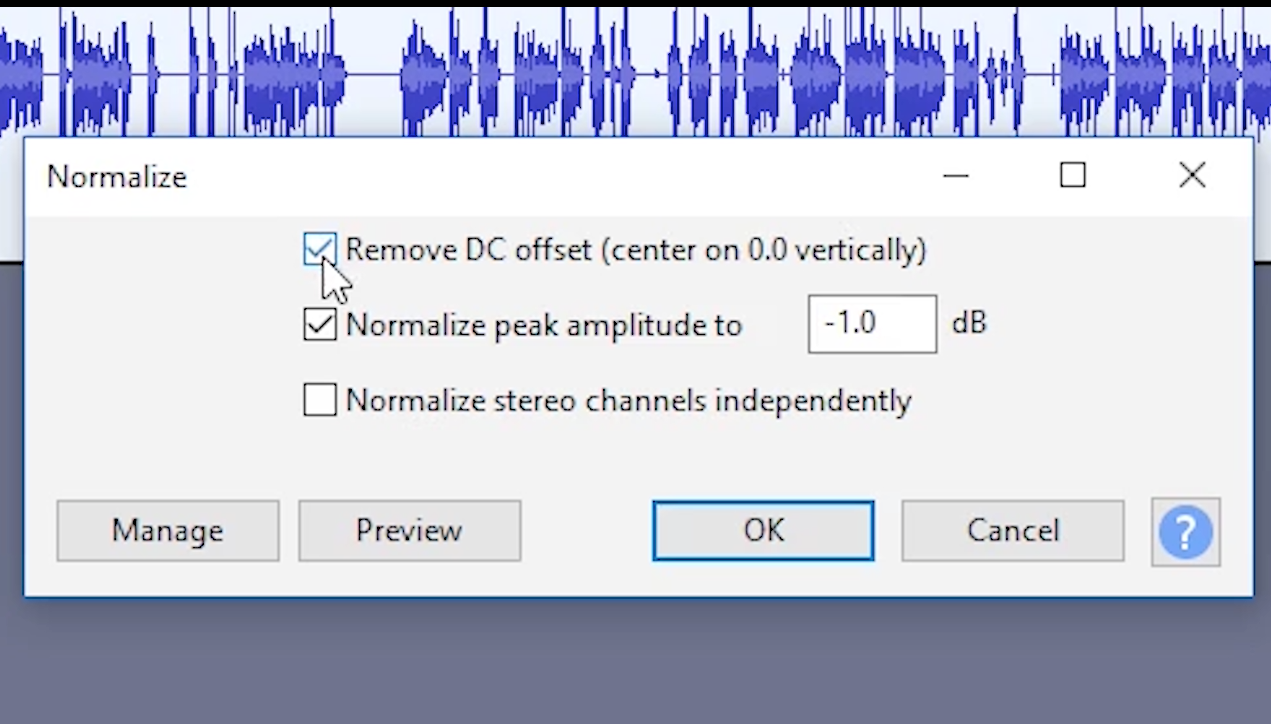
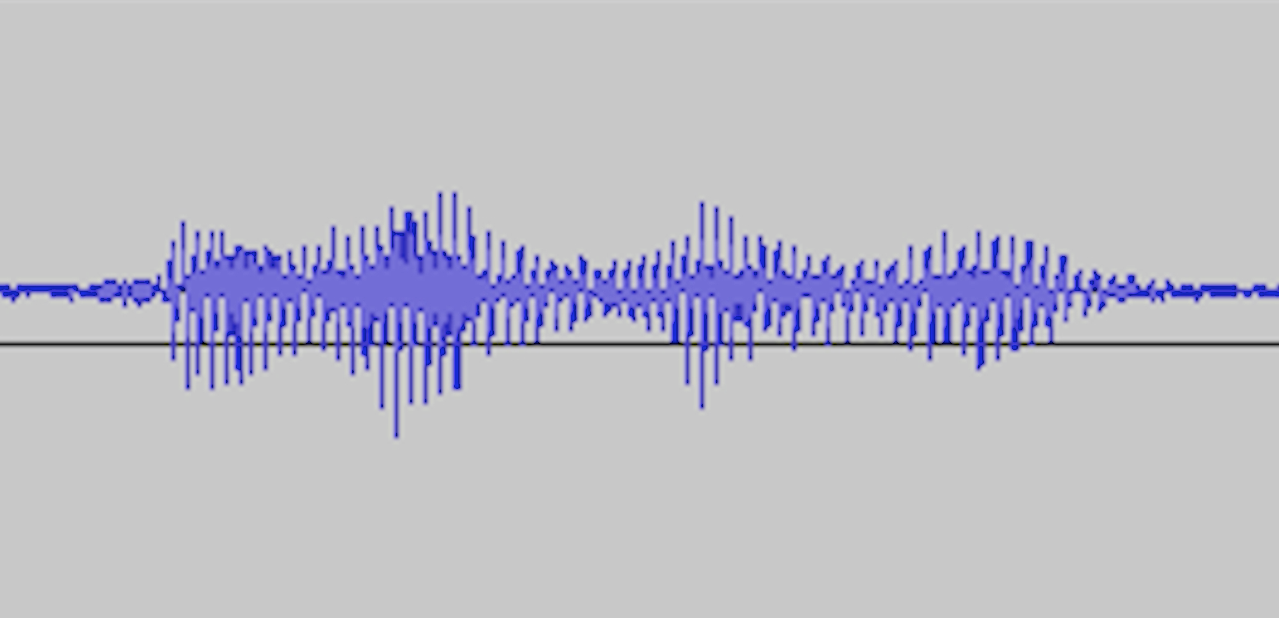
This solves a problem that sometimes happens when we digitalize sounds – when the center of the sound wave doesn’t match with the “zero” point of the recording, and it’s placed incorrectly at a higher or a lower point instead. This can have serious consequences during editing.
Lastly, we have an option that allows us to normalize the stereo channels independently.
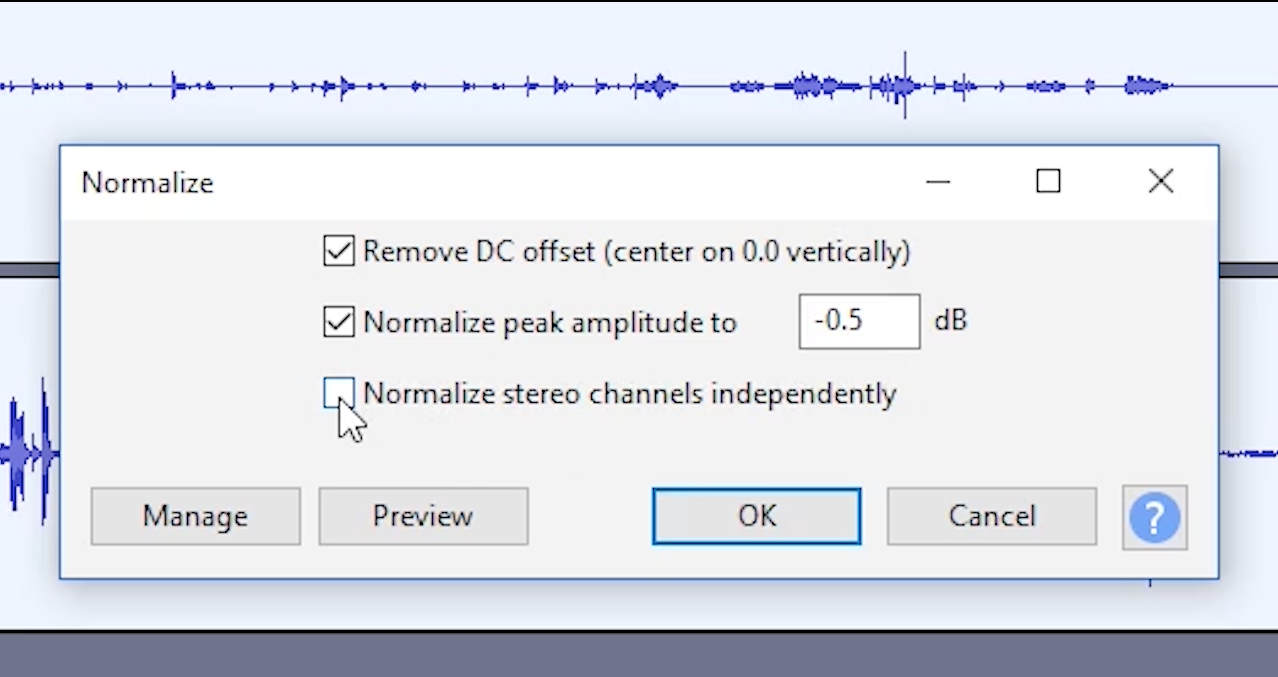
That means that when we have a stereo recording, each of the two channels will be considered a separate entity to define how much amplification is needed to reach the maximum peak we’ve established.
What do you think about our Audacity Tutorial Guide for Beginners: How to Control the Level? Comment if you have any questions and we will do our best to help you.
In our next video, we will talk about the compressor for a more complex job with the sound levels of our audio files.